High dynamic range imaging (HDRI) photography is a technique that allows photographers to capture a greater range of light and dark ranges in a photograph. It sounds complex and difficult but with these few steps it is actually really simple and can produce very beautiful images.
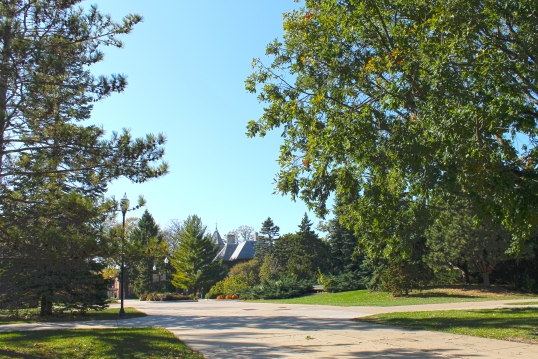
First I will give you a little background information on why I am doing this because like most other photo things up until about a month ago I had no idea what HDRI photography was. UW Oshkosh has decided to launch rephotography project, the media photo class that I am in now will be producing the images. We are taking images from the 1960s and rephotographing them either in the same location or taking a new angle on the meaning of the photograph. The image I selected is of the old smoke stack. Below is my recreated image! Enjoy 🙂
Steps:
1. Locate a scene with dynamic range in lighting. For this project obviously I just had to work with what I could get but trying to pick a time of day, like sunset will help get more range.
2. Make sure to use a tripod, since the photographs will be merged together in photoshop even the smallest movement can ruin your photo. Refer back to my tripod post for more information.
3. After you have securely attached the camera to your tripod and set up your scene set your camera to zero exposure and take your first shot. Then you will take two underexposed shots and two overexposed shots. If your camera doesn’t have exposure stops like the one pictured then you will manually have to adjust your shutter speed, don’t adjust your f-stop because it will change your depth of field. Refer by back to my post, A guide for photo ‘newbies’ for a refresher on aperture and shutter speeds.
Here is a quick example of manual bracketing:
Stops Shutter speed Aperture
(+2) 60 F8
(+1) 125 F8
(0) 250 F8- This is your baseline
(-1) 500 F8
(-2) 800 F8
So maybe you are thinking… ok, how do I find the baseline? Don’t worry I didn’t understand this either. What you do is make sure you are using your manual setting, look in your viewfinder and click your trigger button down just halfway, when you do this you should see a bunch of little number pop up on a line… ok, got it? Now set your aperture to the type of lighting available then adjust your shutter speed so the ticker is right in the middle on zero and ta-da! This is your baseline you can adjust your math on the shutter speeds as needed.
4. Last and easiest step! I use Adobe Photoshop for this but I am sure there are other programs out there you can use. The steps you take in photoshop are File> Automate> Merge to HDR Pro. Yep, it’s as easy as that!
I hope you enjoy my first attempts, please share your HDR photos with me!
